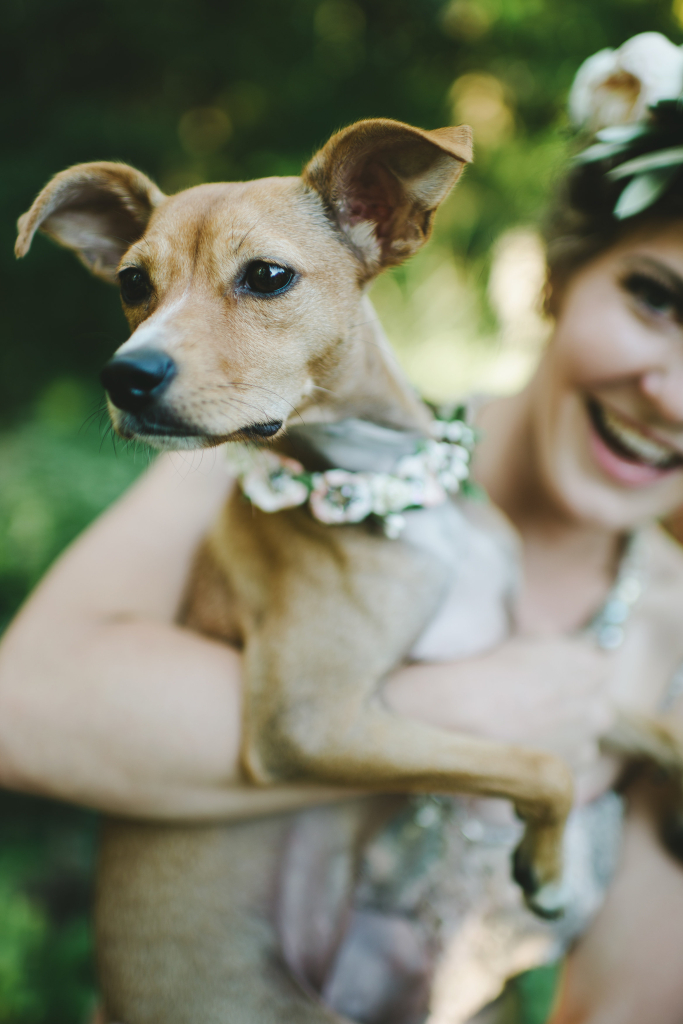
If I had to describe my dog in one sentence, I’d say she is part energetic puppy high on life, part NYC squirrel on cocaine. The qualities that make her the best Tuesday evening wrestling partner also make her ill-fit for large civilized gatherings of humans… Like a wedding ceremony.
Because Pimm is such a big part of my life, I wanted to find ways to include her + my love for all things dog in our wedding festivities. 🙂
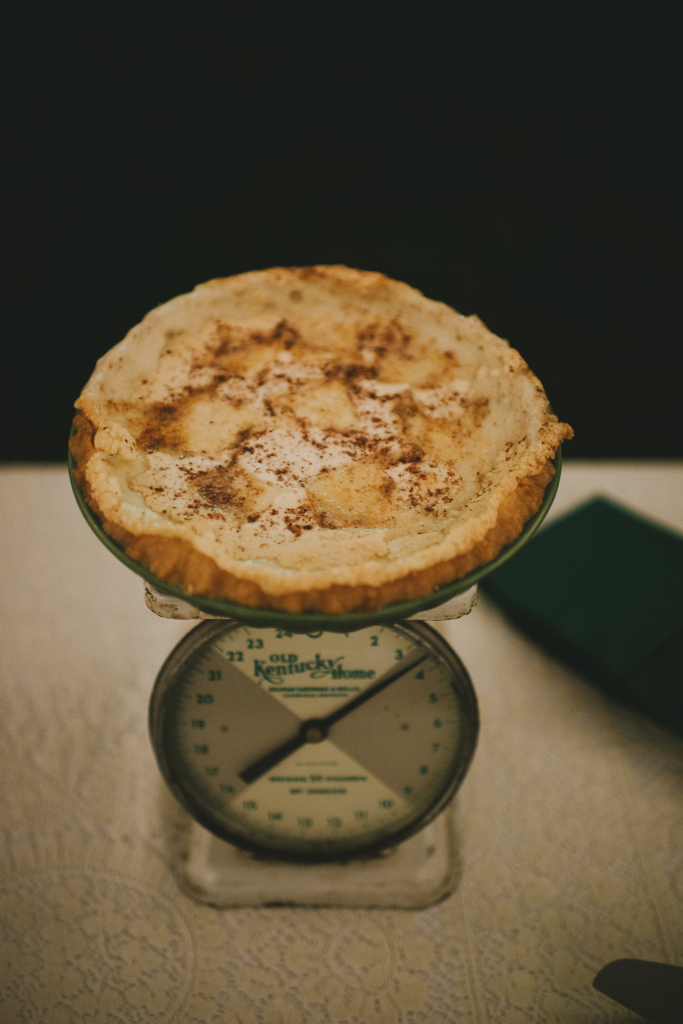
When it came to choosing cake toppers, I wanted to have something that I could keep forever as ornaments or decor and always have a special meaning. Last year around Christmas, I started making these little stuffed dogs. (And technically they were meant to be pie toppers, not cake toppers.) 🙂  To make little dogs in the same style, the first thing you’ll need to do is make your own pattern. It’s really simple when you approach the project like you’re making small versions of stuffed animals. I made a general body shape without a head (with a little extra chubby belly :P) and cut it out of a faux fur/felt-like material. Then I stitched the two pieces of fabric together and flipped the fabric right-side out to hide the stitches.
 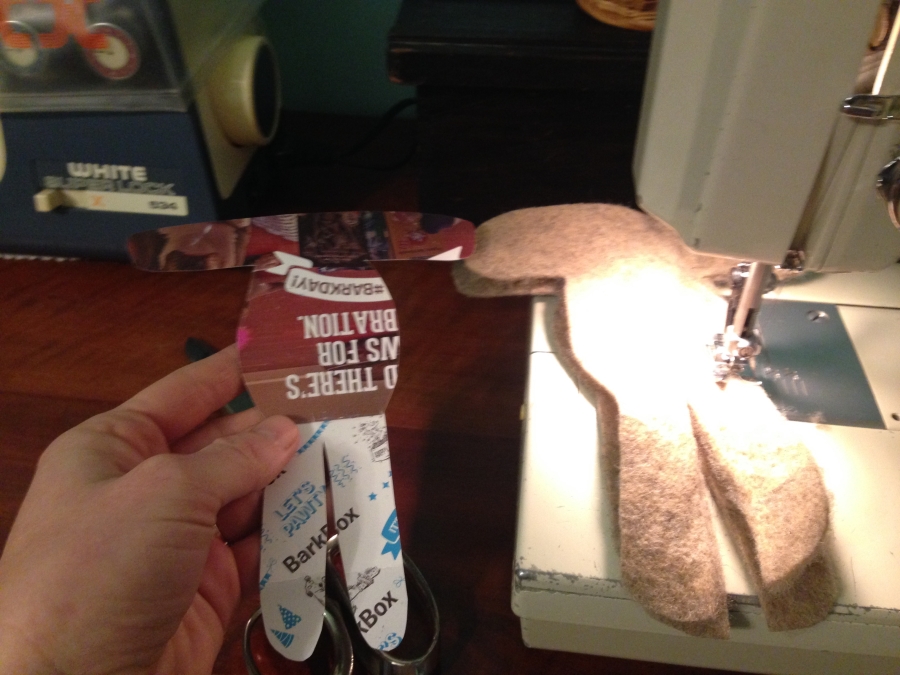 After I flipped the body structure inside out, I made a little wire outline of the legs, arms and body to fit inside before I filled it with stuffing. (This way you can adjust the arms/legs/paws like a moveable doll.) Then I started working on the head!
 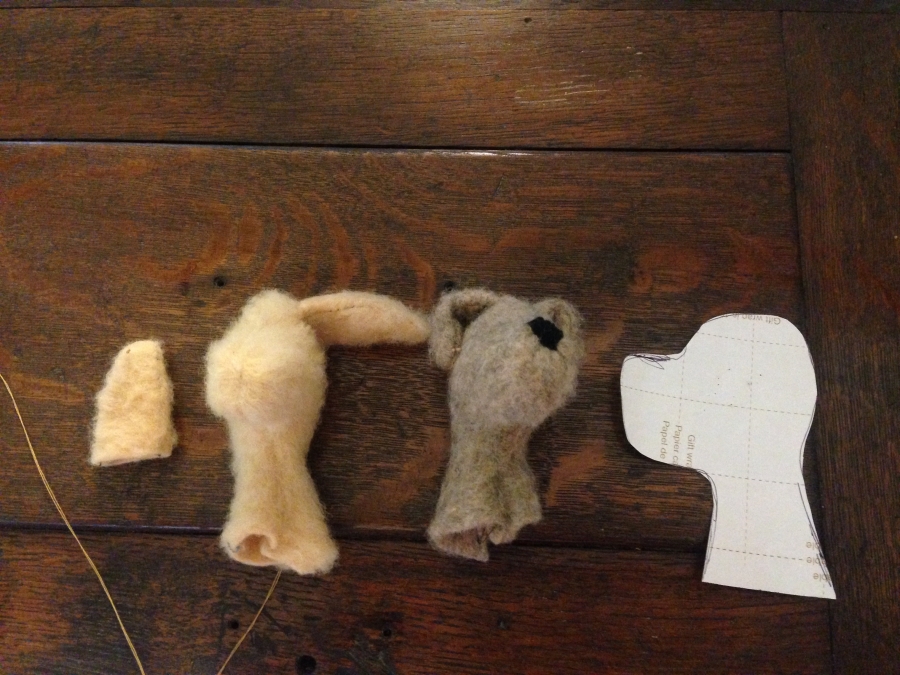 I made another little pattern to fit the body, cut out two pieces of fabric to fit, and then stuffed the head with stuffing. To make the ears, I tested different shapes and stitched them to the head separately, securing the ears with hand stitching. Then I stitched the head to the body.
 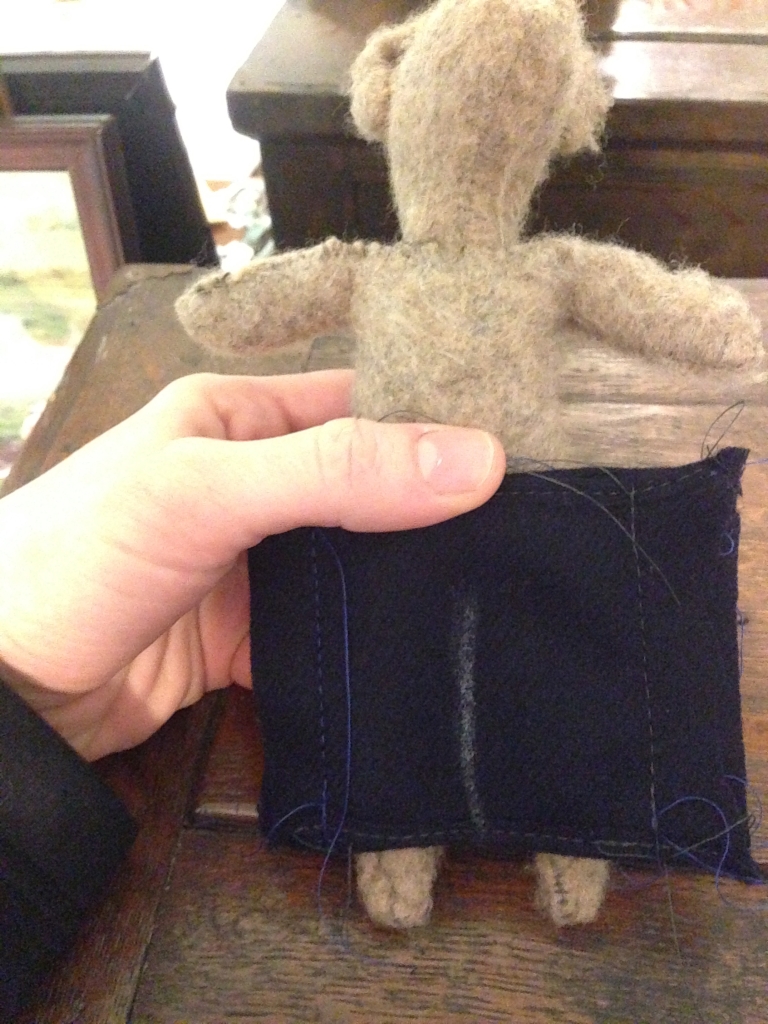 After that the fun part started– making the tiny dog clothes. Since these dogs aren’t going to be moving around much, you don’t have to make their clothing super functional… It just has to look like it. The secret to getting the clothes to fit is ironing AND stitching. Before you sew something in place, take your iron and set the fabric so that it’s really easy to get those tiny hand and machine stitches to stay properly. For the lady pup’s dress, I used a little piece of lace and some off-white muslin.
After you get the clothes in place, you can continue with the details. I made a little flower crown for my pup, a boutonnière for the gentleman pup, and eye, nose, and paw details for both. I used tiny seed beads for the toes of the paws and a sequin for the pad.
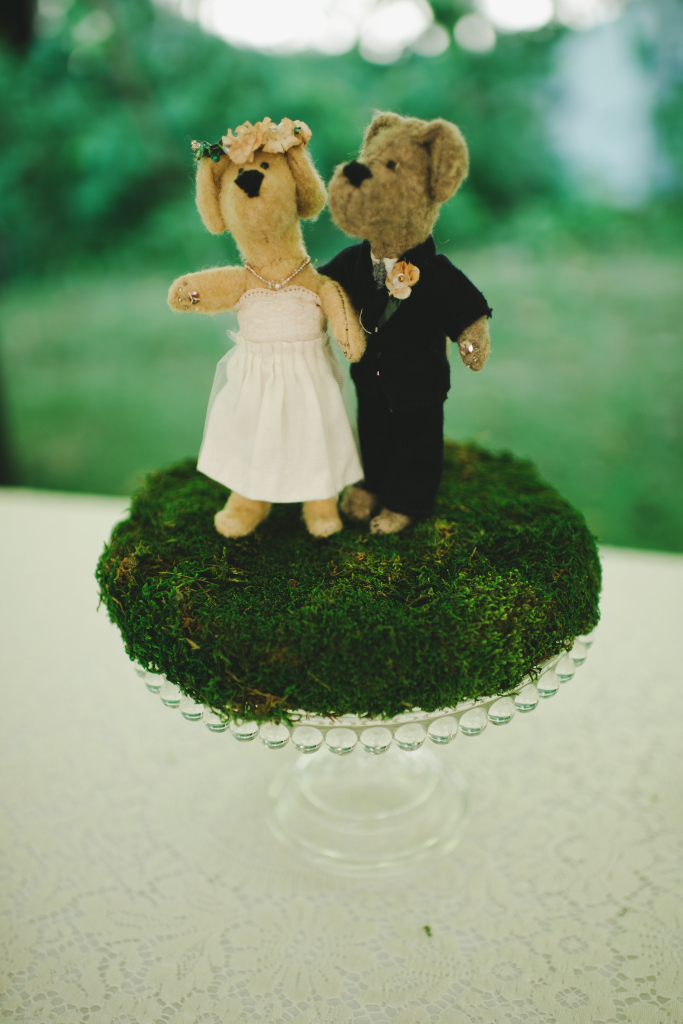
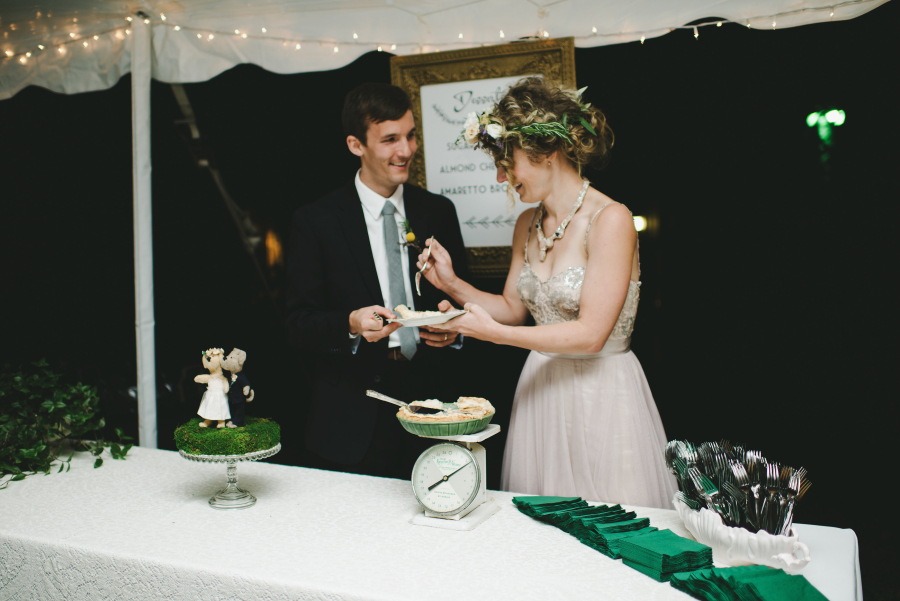
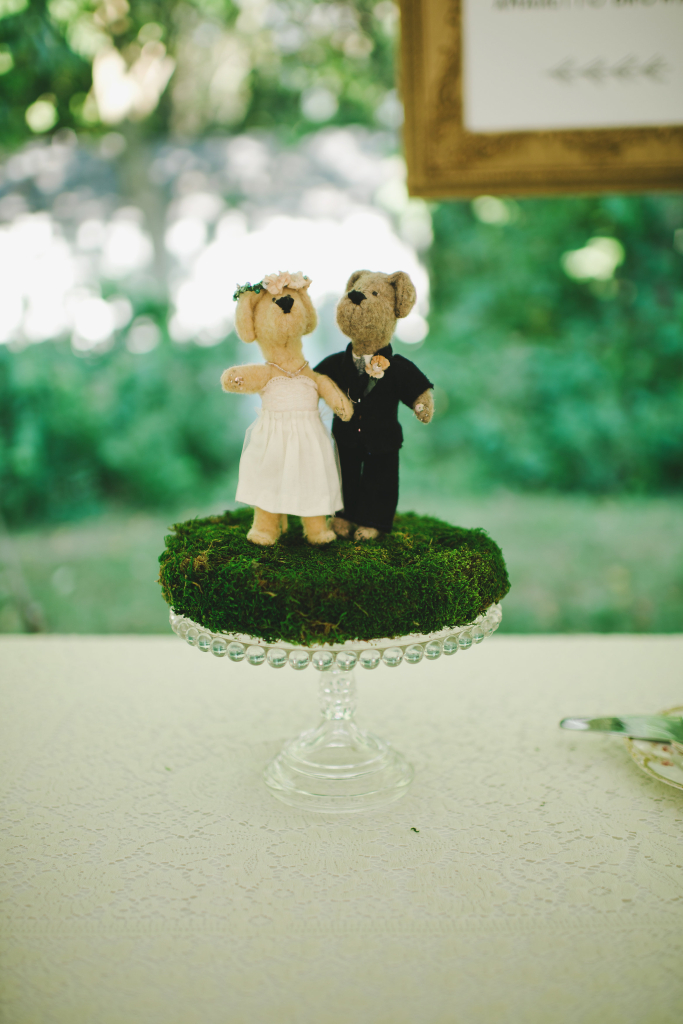
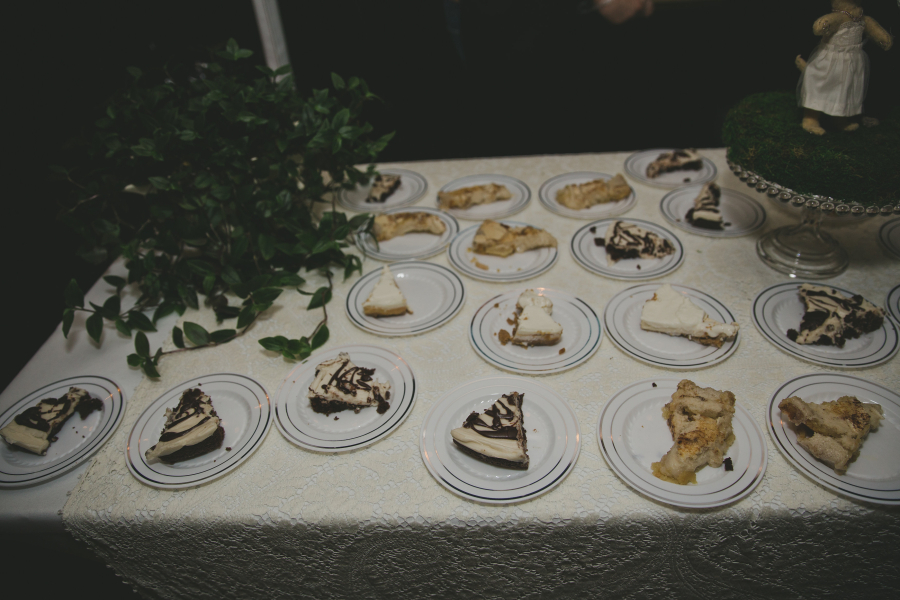
Today, these little cake toppers sit on my dining room table. Eventually, I’ll probably tuck them away and bring them out for special occasions like anniversaries or holidays. While nothing is as special as the real Pimm pup, at least these little dogs didn’t scurry away at the reception or pee on the church carpet. 🙂
Check back for more updates to The Dogified Wedding! 🙂